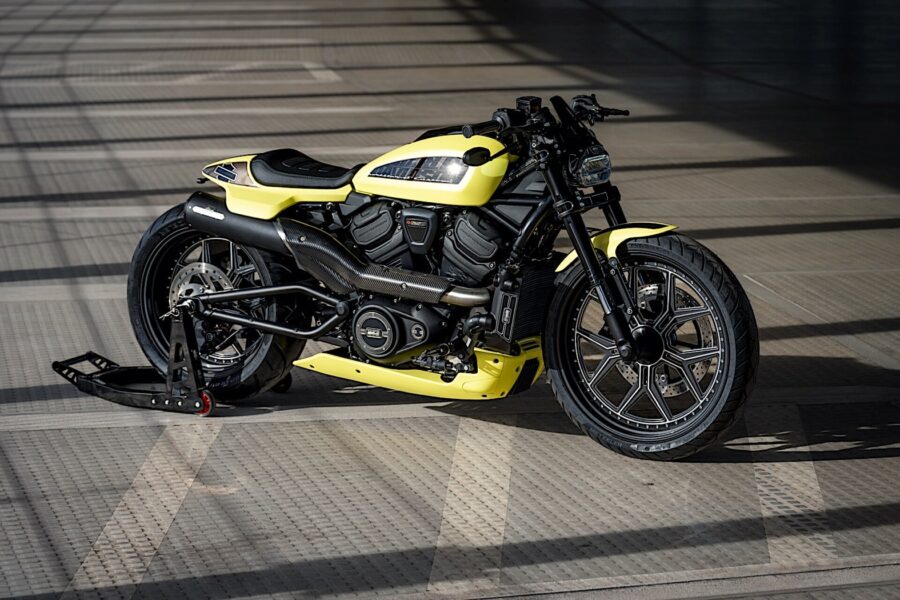
Installing a new battery in your Harley-Davidson Sportster is a relatively simple task that requires basic tools and a bit of patience. This process is essential for maintaining your bike’s reliability and ensuring optimal performance, especially if your current battery is struggling to hold a charge. Here’s an overview to help guide you through the installation process.
Start by ensuring your Sportster is parked securely on a flat surface with the ignition turned off and the key removed. For safety, disconnect the negative terminal first to prevent any electrical short circuits, followed by the positive terminal. You’ll typically need a Phillips head screwdriver and possibly a socket wrench, depending on your bike’s model.
Remove the battery cover, which is often secured with clips or a bolt. Carefully lift the old battery out, taking note of how it is positioned and where the cables connect. Clean the terminal ends with a wire brush or terminal cleaner to remove any corrosion that could impact the new battery’s performance.
When installing the new battery, place it in the same orientation as the old one. Connect the positive terminal first, followed by the negative terminal. This sequence reduces the risk of electrical shorts. Tighten the terminal bolts securely but avoid over-tightening, which could damage the connectors.
After connecting the battery, test the electrical system by turning on the ignition and checking for proper operation of the lights and horn. If everything functions correctly, replace the battery cover and ensure it’s securely fastened.
Installing a new battery in your Harley-Davidson Sportster is a quick and easy way to improve your bike’s performance. By handling the job yourself, you save money and gain the satisfaction of maintaining your motorcycle. Remember to properly dispose of the old battery in an environmentally responsible manner.


